

I thought I'd take you through the steps in making my Pumpkin pin.
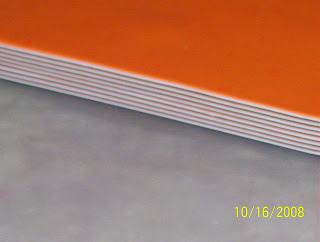
I started with 3 even slices of clay, white,black and orange. I stacked them on top of each other and ran them through the pasta machine a few times to create a stack of very thin slices as you see. I then made an imprint onto the surface with a wooden cutout I found at Michael's. Press down on the wood to make the open spaces in the cutout cause the clay to puff up and make the eyes,mouth and nose pronounced. Then simply slice the raised portions very carefully and you'll see those areas expose the pattern created in the clay. From there you can put yout own spin on it and create what you wish. Happy claying!


8 comments:
how fun!! thanks for sharing!!
What a great idea! And awesome end result :) Thanks so much for sharing this.
Awesome! I've never seen a pin a jazzy as that! I love mokume gane jewelry too, so this is right up my alley! This is a good site to look at mokume gane jewelry www.georgesawyer.com
Thanks!
This is just so wonderful!!!!!
Very cool! Very smart to leave the last layer orange... guarantees the pumpkin will be orange with the black and white as the outlines. I love how it turned out! Simple yet very effective! ~Cindy Lietz
Oh, now that is so fun! Glad I followed the link from Iris' blog!
Thanks you so much for this great and fun tutorial!!!
thanks for sharing this really the constant is amazing
informative,interesting , motivate also which was i am looking for . please keep updating step by step
buy 250+ silver and gold earring designs for wedding
Post a Comment